How to Install Gnome Desktop Environment in Garuda Linux
Are you a fan of Gnome and want to use it in Garuda Linux then you are at right place. In this blog post, we'll walk you through the step-by-step process of installing the GNOME desktop environment on your Garuda Linux system.
What is Gnome ?
GNOME, pronounced as "gah-nome," is a popular desktop environment for Linux and Unix-like operating systems. It's one of the many desktop environments available, each with its own look, feel, and set of features. GNOME is known for its simplicity, user-friendliness, and classic design.
Pre-installation Checklist
Before you jump into installing GNOME on Garuda Linux, it's essential to prepare your system and ensure a smooth installation process. Here's a simple pre-installation checklist.
1. Backup Your Data:
Before making any significant changes to your system, it's a good idea to back up important files and documents. Use an external hard drive, cloud storage, or a dedicated backup tool to safeguard your data.
2. Stable Internet Connection:
Make sure you have a stable and reliable internet connection. You'll need this to download the GNOME desktop environment and any additional packages during the installation process.
3. Allocate Disk Space:
Ensure you have enough free disk space on your Garuda Linux installation. You'll need space for GNOME, and it's a good idea to have some extra room for future updates and installations.
Now let's move to installation
Installing GNOME on Garuda Linux
#1 Using ISO
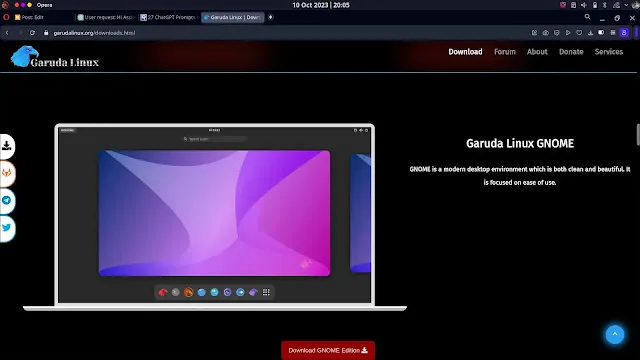
Garuda Linux provides us with gnome ISO already installed. In which gnome is the default desktop environment. Using this ISO, we can perform a fresh installation.
You just need to download ISO from official website.
Also Read:
Best lightweight desktop environment for Garuda Linux
#2 How to install gnome in Garuda Linux command line
1. Open the Terminal:
Press Super + T (the Super key is usually the Windows key) or click on the terminal icon in your current desktop environment to open a terminal window.
2. Update the Package Database:
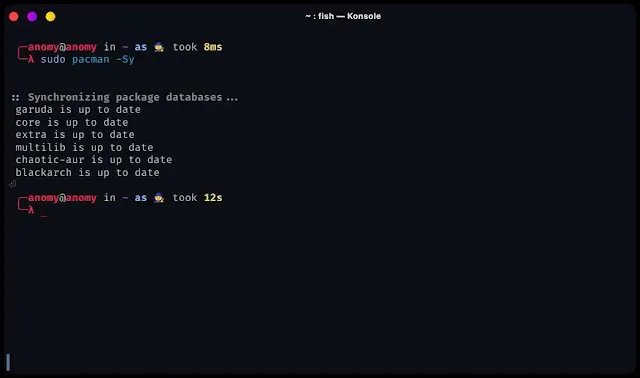
Before installing any software, it's a good practice to update your package database to ensure you're getting the latest software updates and repositories. Run the following command:
sudo pacman -Sy
3. Install the GNOME Desktop:
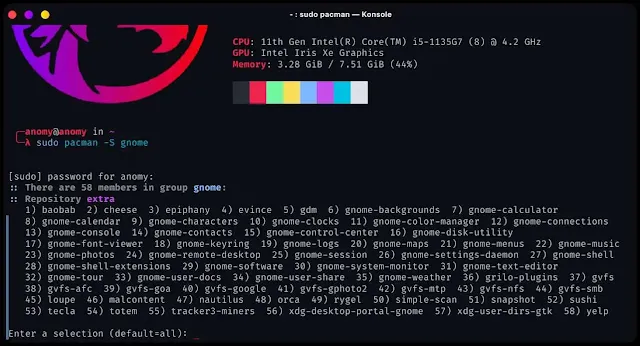
To install GNOME, run the following command:
sudo pacman -S gnome
This command will download and install the GNOME desktop environment along with its core components. Confirm the installation by typing 'Y' when prompted.
4. Configure the Display Manager:
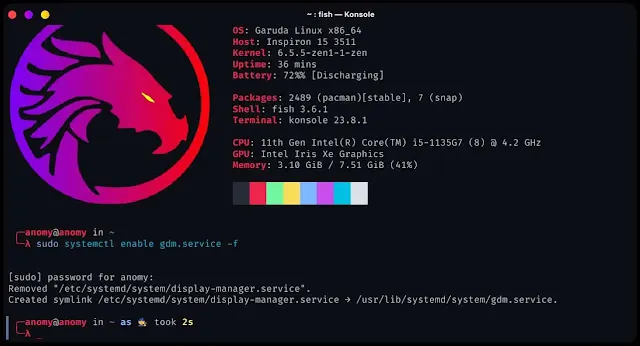
Garuda Linux uses the SDDM (Simple Desktop Display Manager) as the default display manager. To configure it to use GNOME, run the following command:
sudo systemctl enable gdm.service -f
This command sets GDM as the default display manager.
5. Reboot Your System:
After the installation is complete and the display manager is configured, it's a good idea to reboot your system to ensure that everything is working correctly.
sudo reboot
6. Log In to GNOME:
When your computer restarts, you'll be presented with the login screen. Select your user account and enter your password. Before clicking "Sign In," make sure to choose "GNOME" from the list of available desktop environments if it's not already selected.
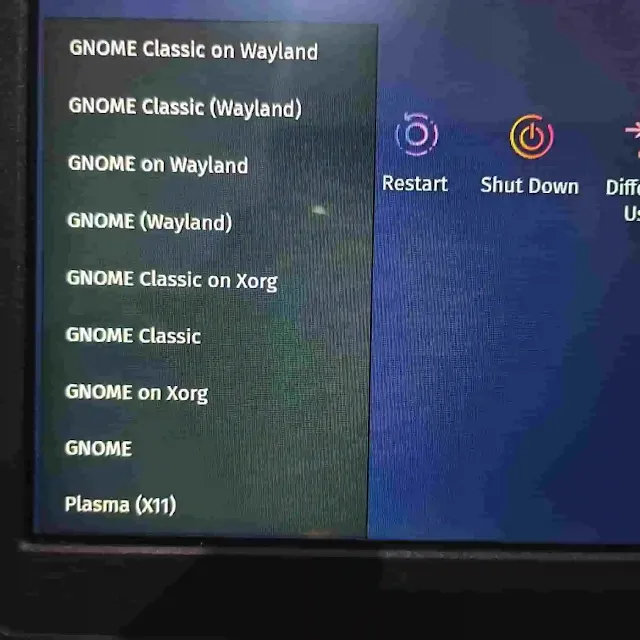 |
| You can Find list of available Desktop Environment in corner |
7. Start Using GNOME:
After successfully logging in, you'll be greeted by the GNOME desktop environment. You can start exploring and using GNOME's features and applications.
Congratulations! You've now installed the GNOME desktop environment on Garuda Linux. You can start customizing your GNOME desktop, adding extensions, and making it your own.
Please note that installing GNOME may take some time, depending on your internet speed and system performance. Be patient, and once the installation is complete, you'll have a clean and user-friendly desktop environment to enjoy.
Also Read :
Top 10 Linux Distros for Your Needs
Is Garuda Linux Good for Programming?
Frequently Ask Q&A
1. Can i install gnome and kde together?
Conclusion
In conclusion, embracing the GNOME desktop on Garuda Linux has opened the door to a world of user-friendliness and customization. Garuda, with its Arch Linux base, offers an exceptional foundation for your Linux journey.
As I've explored this combination, I've marveled at its simplicity and elegance. It's not just a desktop; it's an invitation to personalize your digital workspace. Whether you're a Linux novice or a seasoned user, the seamless integration of Garuda and GNOME promises a delightful computing experience.
So, go ahead, embark on this journey, and craft a Linux environment that reflects your style and preferences – Garuda and GNOME await your creative touch!
